
REAL Blog
Ready to Roll? Your Guide to Triathlon Cycling Confidence!
- Adina Oneill
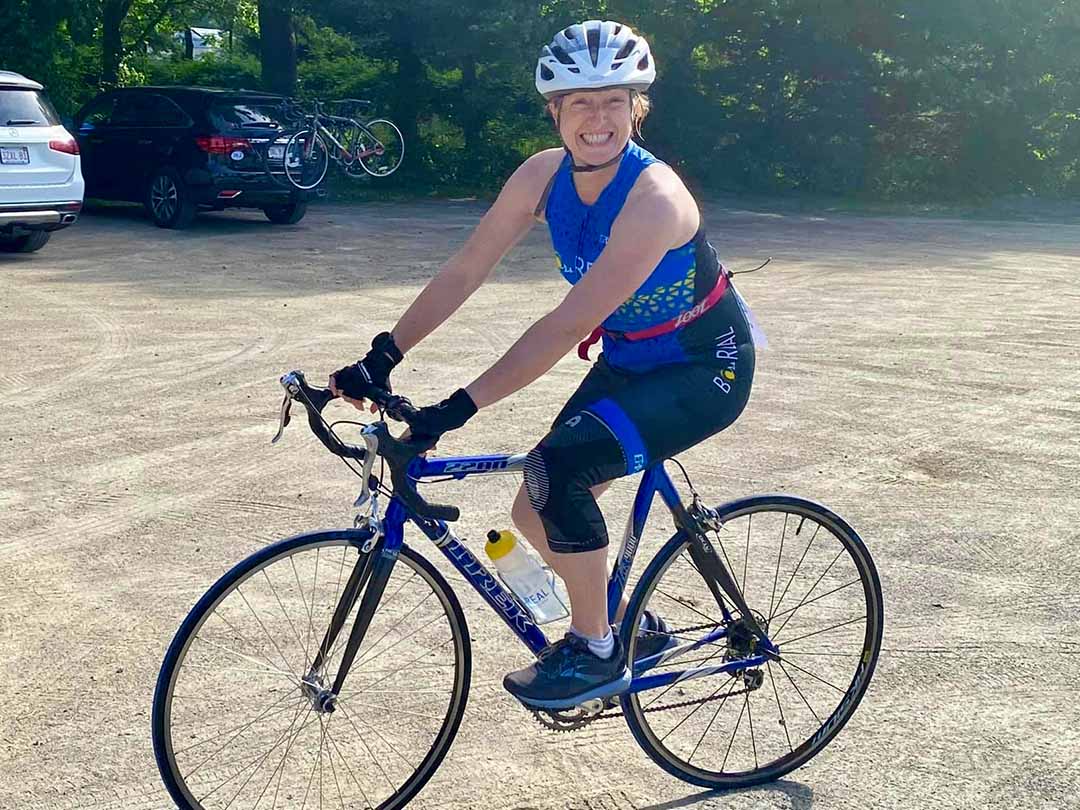
You’ve crushed the swim (or at least read my tips on it!), and now it’s time to hop on the bike! Cycling in a triathlon can seem like a big challenge, with talk of falls, flats, and fancy gear. But don’t you worry! This post is packed with simple tips to help you understand your bike, ride safely, and even enjoy every pedal stroke. Ready to roll? Let’s make you a confident cyclist!
Facing Your Fears on Two Wheels
The biggest fear for new cyclists is falling. And guess what? There’s a difference between a little fall and a big crash! Falling off your bike is super common, especially when you’re new to those ‘clipless’ pedals. I remember on my very first group ride, someone said: ‘There are two kinds of cyclists: those who have fallen, and those who will.’ It might not make you less scared, but it’s good to know you’re not the only one!!
If you’re on a road bike, most falls happen when you’re slowing down to stop and don’t unclip your shoes fast enough. You’re usually not going very fast, so you might get a few scrapes or a bruised ego, but rarely a serious injury. Falls on mountain bikes happen more often because you’re riding over bumps, rocks, or other tricky parts of the trail.
Bigger crashes happen when people aren’t paying attention, if there’s a problem with the bike, or because of distracted drivers. Sadly, many drivers don’t know the rules for sharing the road with bikes and can be impatient or careless. Crashes are much less common but usually more serious. Riding in groups or in special bike lanes makes things much safer.
Most cyclists are nervous about getting a flat tire. Much like falling, it’s probably going to happen! If you are newer to cycling you probably have a tire with a tube inside. Keeping the tube filled with air provides cushioning and a more stable ride. The best way to stop flats is to make sure your tires have the right air pressure before every ride. (You can usually find the right pressure on the side of your tire, or ask your bike shop!) Your bike should have a flat tire kit with extra tubes, CO2 cartridges (for quick air fills), and tire levers. If you don’t know how to change a flat yet, ride with friends who can help, and practice at home until you feel good about it.
There’s a lot to learn about taking care of your bike. Join a group ride with a club or your Local Bike Shop (LBS) to get used to riding with others and learn simple bike maintenance. Here’s a 5 minute video to help you start and teach you an ‘ABC Quick Check’ to stay safe every time you ride.”

Your Bike and Gear: What You Need to Know
Choosing Your Ride:
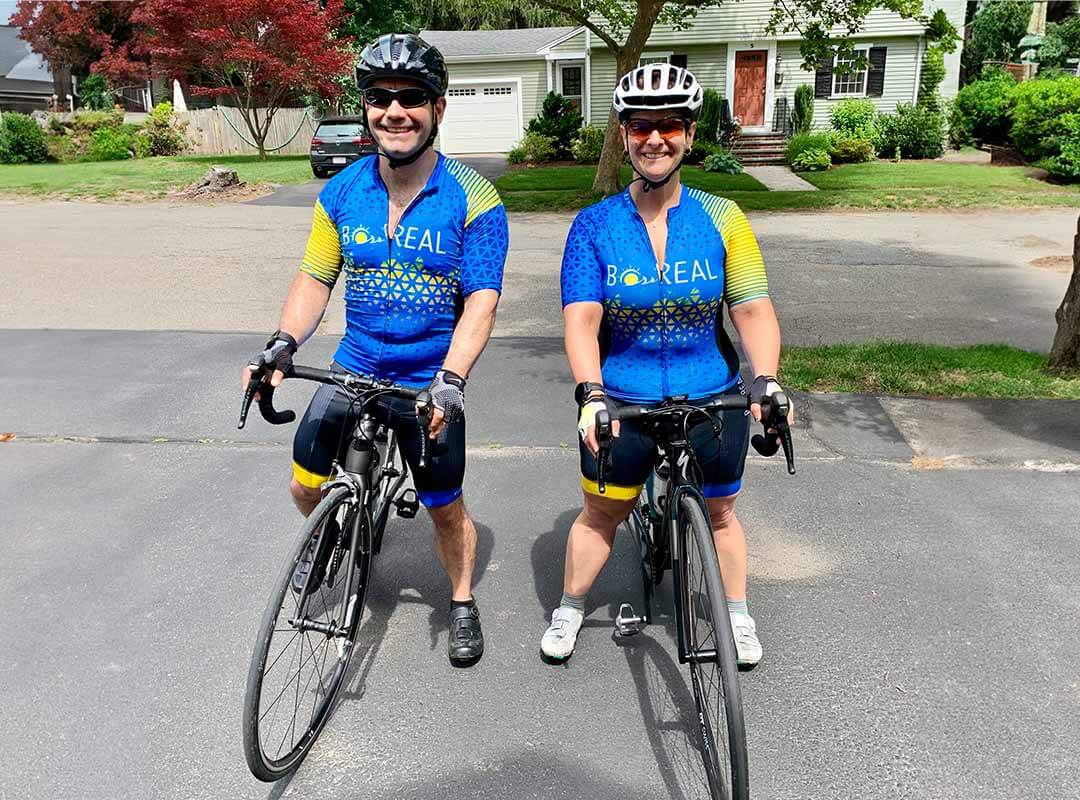
A bike is a big expense. You can use any bike for a triathlon as long as it has covered handlebar ends (this is a safety rule!) and the brakes work. You will work much harder riding a leisure or mountain bike. The thick tires are great for stability but create more friction that will slow you down. Look for an entry level road bike or a hybrid bike with thinner tires.
A good place to start is with your local bike shop (LBS). A good shop will guide you without being pushy and most are experienced in advising newer riders. It’s worth the visit for them to help you determine the right size bike for you and make a connection. Don’t feel obligated to purchase right away. Do find a shop where you are comfortable – you’ll be back for bike tune-ups!
If money is tight, ask your LBS about last year’s models, special sales, or used bikes. Also, connect with a local triathlon or cycling club, as athletes often buy new bikes and sell their old ones at good prices. You can check if a price is fair using Bicycle Blue Book or by asking your LBS. Always make sure to ride the bike before buying it. And ask the mechanic at your LBS to give you a free estimate on any service needed to get the bike running perfectly.
Questions to ask when researching a used bike:
- How old is the bike?
- What size is the bike?
- Has it been in a crash?
- How often has the bike been serviced and by whom?
- What accessories are included in the price?
- Can I take it for a test ride?
Getting the Right Fit
I highly recommend getting a “bike fit” from a specialist. This is more than just someone checking how high your seat and handlebars are. A good bike fit helps you avoid injuries and makes your riding smoother and more comfortable. The process usually takes 1-2 hours with periods of riding and measuring (often using computer software) to ensure that your handlebars, seat and pedals are at the best angles for your body.
Pedals: Flat, Toe Clips, or Clipless?
If you are newer to cycling it’s fine to stick with the flat pedals that come with your bike. As you look to improve riding efficiency, you may consider toe clips or clipless pedals. These let you use more of your leg muscles (like your quads and hamstrings) when you pedal.
Toe clips are little cages that are attached to standard pedals. They are cheaper because you can wear regular sneakers. But it can be tricky to get your feet out, which means your foot could get stuck during a fall, leading to more serious injuries.
Clipless pedals are one of the most confusing bike terms for new cyclists. The name ‘clipless’ means the pedal doesn’t have a toe clip. Instead, you ‘clip in’ to the pedal using special parts called ‘cleats’ that are attached to the bottom of your shoes. Clipless pedals provide more control and power which leads to increased speed and reduced fatigue. There is a learning curve and you’ll need to purchase special shoes, but the resulting comfort and power is well worth it if you plan to do longer or more frequent rides.
Get started with clipless pedals:
- Talk to your LBS. The most common pedals are SPD (which unclip quickly and are easier to walk in) or Look KEO (which have a wider platform to transfer more power). If you already have spin shoes with cleats, look for compatible pedals to save money.
- Start on a stationary bike – either a spin bike or an indoor bike trainer that you can put your road bike on. Practice clipping in and out with both feet to get comfortable with the motion of your ankles.
- Next step: grass – You might feel good doing your first ride in a grassy area. Practice clipping in and out as you ride. If you fall, the grass will make it softer. Try to roll onto your shoulder instead of stopping your fall with your hands or wrists.
- Move to a safe area – Go to a controlled place such as a bike path or shared trail where there are fewer cars and more chances to practice clipping in and out.
- Finally, take it to the road.
Adina’s Awesome Tip: clipping your foot out in advance when you are preparing to stop will help you get your foot to the ground without panicking. Watch this 5 minute video.
Essential Gear for Every Ride
Helmet: You should wear a helmet every time you ride a bike no matter where or for how long. You should replace your helmet after a crash or if it is cracked. Helmets don’t “expire”, but it is recommended to replace them every 3-5 years depending on how often you ride. Over time, the foam can become less protective from sun, heat, sweat, and even lotions or bug spray.
Every triathlete is required to wear a helmet during the bike portion of the race. A standard bike helmet is fine to start. If you get hooked you can upgrade to one of those fancy aerodynamic helmets that serious racers wear.
Bike shorts: You are going to be spending a decent amount of time on your bike, so you’ll want a good pair of bike shorts. The padding inside is called a chamois (commonly called “sham-ee”) and it helps keep you comfortable when you’re in the saddle for a long time. Tri shorts have a thinner chamois, which helps them dry fast after the swim and makes them more comfortable for the run. Both are meant to be worn without underwear. The seams sometimes cause chafing with the repetitive motion of your legs. Apply creams like Chamois Butt’r or Hoo Ha Ride Glide directly to the skin before riding to help prevent rubbing/chafing.
Jersey: Cycling jerseys are practical because they have pockets and are light weight, but they are not required. A simple T-shirt will do. Choose one that you are comfortable riding and running in to avoid extra time changing clothes.
Lights: If you are riding when visibility is limited -before dawn, after dusk, in the rain, when it’s foggy – add lights to your bike frame or your body. I like the Noxgear Tracer safety vest with the Tracer 2 lamp because I can wear it when I run too.
Fueling Your Ride: Powering Up for the Bike
You’ll spend a long time on the bike so you should be ready to eat and drink. During a triathlon, your goal is to power your ride and get enough fuel ready for the run. You’ll need to figure out what works best for you. A good starting point is to aim for about 24-30 ounces of fluids including electrolytes and 30-90 grams of carbs every hour. (Don’t worry too much about exact numbers at first – just focus on practicing eating and drinking!)
Try out different kinds of fuel: drinks, gels, chews, and energy bars. See which ones give you steady energy and are tolerated by your digestive system. I always have Honey Stinger (honeystinger.com) chews with me on a ride, cherry blossom and pink lemonade are my go to flavors. If you want to make your own energy bites try Dr. Stacy Sims’ popular salty balls.
On longer rides, you’ll need skills to eat and drink on the go. Start by practicing grabbing your drink from the bottle cage or food from your pocket on a stationary bike. Pay close attention to which muscles you’re using to lean over and stabilize your body as you reach for your nutrition. Hint: they’re in your core! Add exercises like planks, bird dogs, supermans, deadbugs and mountain climbers to your bike warmup and strength training program.
As you build confidence here are a few other ways to fuel:
- Stop riding to eat or drink. For shorter races you can take extra time in transition area so you don’t need to stop for fuel during the ride.
- Use a hydration system like Speedfil or hydration pack like Camelback (https://www.camelbak.com/shop/packs/)
- Add a small bag to the frame of your bike for food. Make sure to cut larger bars into small pieces and open chew packages for quicker access.
Adina’s Awesome Tip: I like to fill one bottle with electrolytes or liquid nutrition and one bottle with plain water. I carry spare electrolytes and nutrition to add if needed. And always bring more than you need along with some cash or a bank card. There is nothing worse than running out of fuel and feeling like you don’t have enough energy to get home.

Race Day Ready: Conquering the Bike Leg
Transition and Course Basics
T1: USA Triathlon rules state that you must have your helmet on and buckled before leaving transition. Walk or run your bike out of transition to the bike mount line, hop on and start pedaling.
Elevation: Keep in mind that flat bike courses may seem like a great idea, but if there are no climbs, there are no downhills to rest, either!
Drafting: Many triathlons do not allow “drafting” off of other cyclists which means riding very close behind another cyclist to save energy. Always check the race website or athlete guide for specific rules. If drafting is not allowed, you must stay about 6 bike lengths behind the cyclist in front of you. If you pass someone, shout out “on your left” to let other cyclists know you’re coming so they can hold their line or adjust if needed. If you ride on a shared path, you can practice yelling “on your left” to pedestrians – they’ll appreciate not being surprised!.
Race Day Realities
Going to the Bathroom: You might hear about some triathletes who pee while they bike. But peeing outside of a bathroom, where others can easily see you, can get you a penalty! Use the restrooms in the transition area, and keep an eye out for porta-potties along the route if you need to go.
Prepare to Run: As you approach T2 (the second transition area), shift into an easier gear and spin a bit faster. This helps get your legs ready to go from biking to running. How long you do this is up to you – maybe 30 seconds or even 3 minutes, whatever feels good. Ride your bike all the way to the dismount line. Stop. Get off. Then walk or run until you find your spot.

You’ve got this! From understanding your fears to picking the right gear and fueling smartly, you now have a roadmap to rock the bike leg of your triathlon. The key is practice and patience, and remember: every pro was once a beginner. Get out there, explore new roads, and enjoy the ride!
Want more personalized tips or help with your cycling technique? Schedule a free Connection Call with Coach Adina or email hello@adinaoneill.com. I’m here to help every athlete ride safely and confidently!
Related Posts

Why ‘Not Being Political’ Kills Inclusion: Lessons from Women’s Hockey 2026
In the photo for this post, I’m wearing one of my favorite shirts. It says, “as strong as the woman next to me.” As we move through Women’s History Month, those words feel heavier than usual.
How Far Can You Swim? Decoding the 5K, 10K, and 15K Marathon Distances
During the pandemic, the world went quiet and the pools closed. While my triathlon friends were content to stick to biking and running, I found myself drawn to a different kind of crowd: the open water swimmers of South Boston.